The Settings Your PETG Prints Need to Get a Whole Lot Better

Unlock the secrets to perfect PETG print settings and elevate your 3D printing game. Discover the tweaks you need—dive in now!
Why PETG Feels Like a Trap for So Many Makers
You've probably been there: that glossy spool of PETG looked like the perfect upgrade from PLA - tougher, more flexible, more "pro." But then came the chaos. Stringing everywhere. Blobs forming like bubblegum. Layers that half-fuse, leaving gaps you could fit a fingernail through.
PETG is one of those filaments that teases perfection. It promises strength and shine but demands attention to detail. Truth is, most people don't have their PETG print settings dialed in - they're treating it like PLA with a hotter nozzle, and that never works.
The good news? Once you understand how PETG behaves, you can get near-flawless results on almost any FDM printer. Let's break down what's really going on and how to fix it - layer by layer.
Understanding PETG: Why It's So Touchy
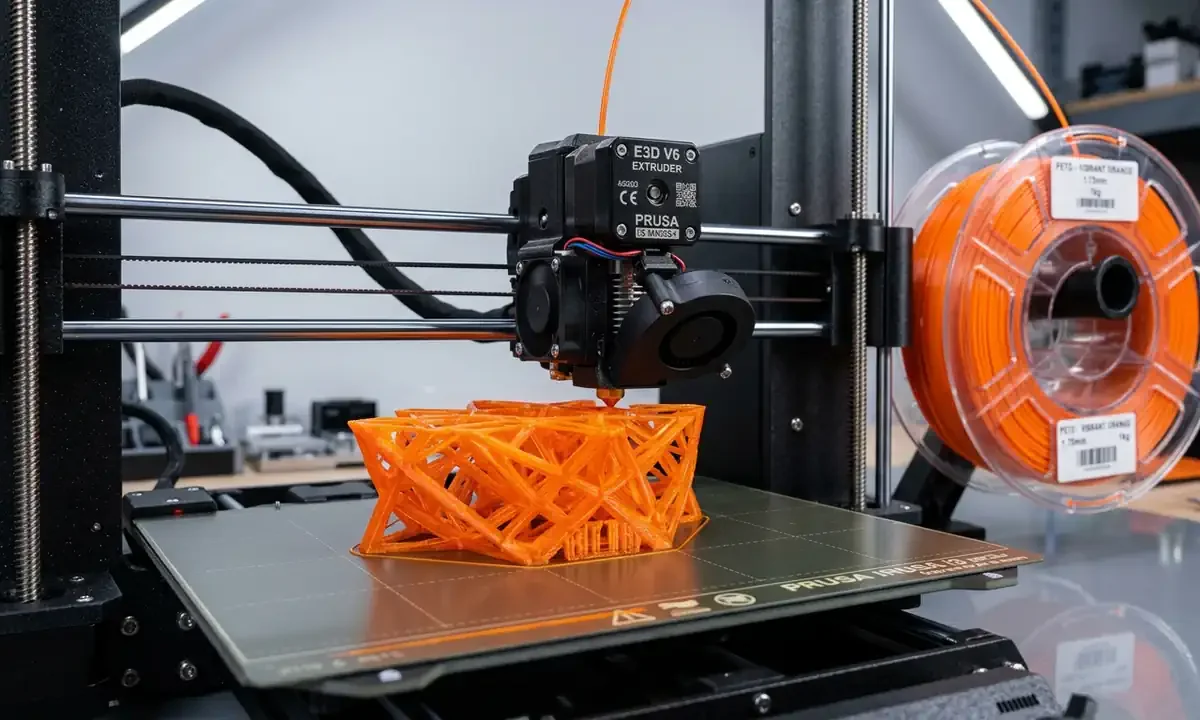
PETG (Polyethylene Terephthalate Glycol) sits in that tricky middle ground between PLA and ABS. It's strong and flexible but sticky and prone to stringing.
The core reason PETG behaves badly is viscosity. It's thicker when hot and clings to the nozzle like honey on a spoon. That leads to blobbing, stringing, and first layer issues if your setup isn't just right.
Here's what you need to know upfront:
-
PETG oozes more than PLA - it doesn't retract as cleanly.
-
Moisture-sensitive - it absorbs water faster than you'd think, and wet filament prints fuzzy and brittle.
-
Bed adhesion can swing wildly - too little, and it warps; too much, and it welds to your build plate.
Once you grasp those fundamentals, tuning your PETG print settings becomes a lot less mysterious.
Getting the Foundation Right: Dry, Clean, and Leveled
Before you even touch a slicer, get your setup right.
1Dry Filament = Happy Prints
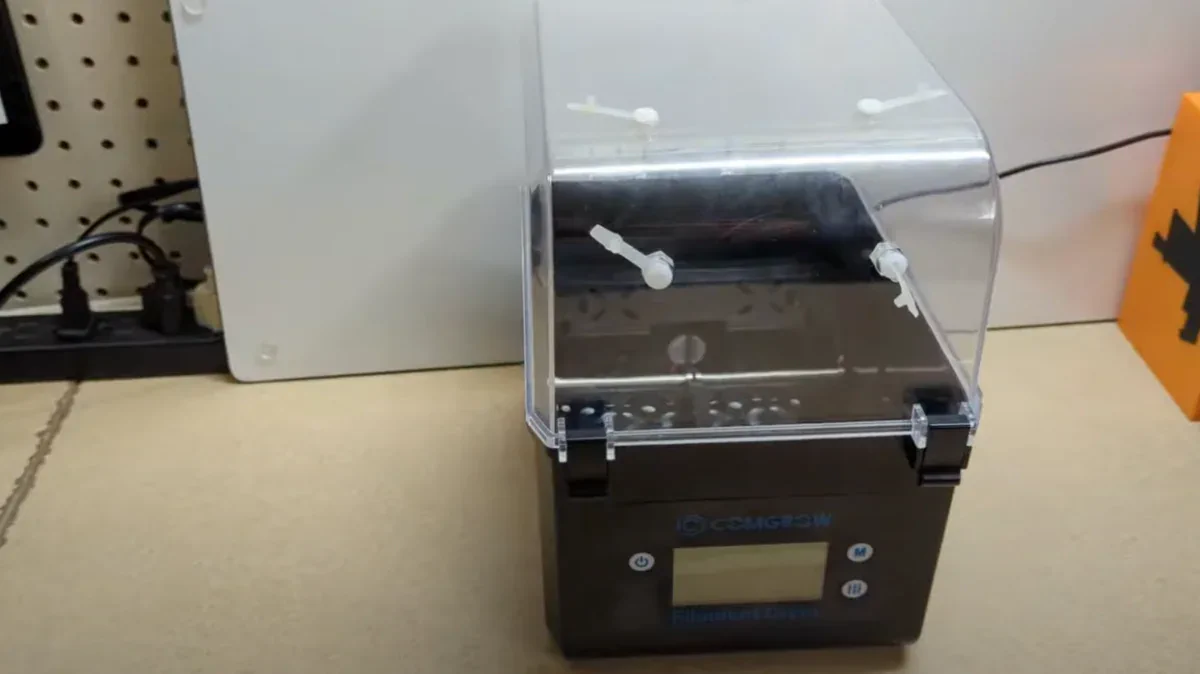
PETG sucks in moisture like a sponge, and even slight dampness leads to inconsistent extrusion and popping noises during printing. Store it in an airtight container with desiccant, or dry it in an oven or filament dryer at 65°C for 4-6 hours.
You'll immediately notice smoother lines and fewer micro-bubbles in your layers.
2Clean Nozzle and Bed
Old residue is the silent killer of good adhesion. PETG likes to stick - sometimes too much - so ensure your nozzle is clean (use a brass brush or cold-pull method).
For the print bed, avoid fingerprints and oils. Use isopropyl alcohol before every print. If you're printing on glass, a thin layer of glue stick or hairspray helps prevent PETG from fusing permanently to the surface.
3Level and Distance
This part's critical: PETG does not want to be squished into the bed like PLA. The first layer should touch the surface, not smear across it. Too close, and you'll get elephant skin or that dreaded welded first layer that won't release.
If your nozzle is too far, you'll get first layer issues - poor adhesion, rough texture, or peeling edges.
Dial in your Z-offset until the first layer lines are flat and slightly touching but still defined.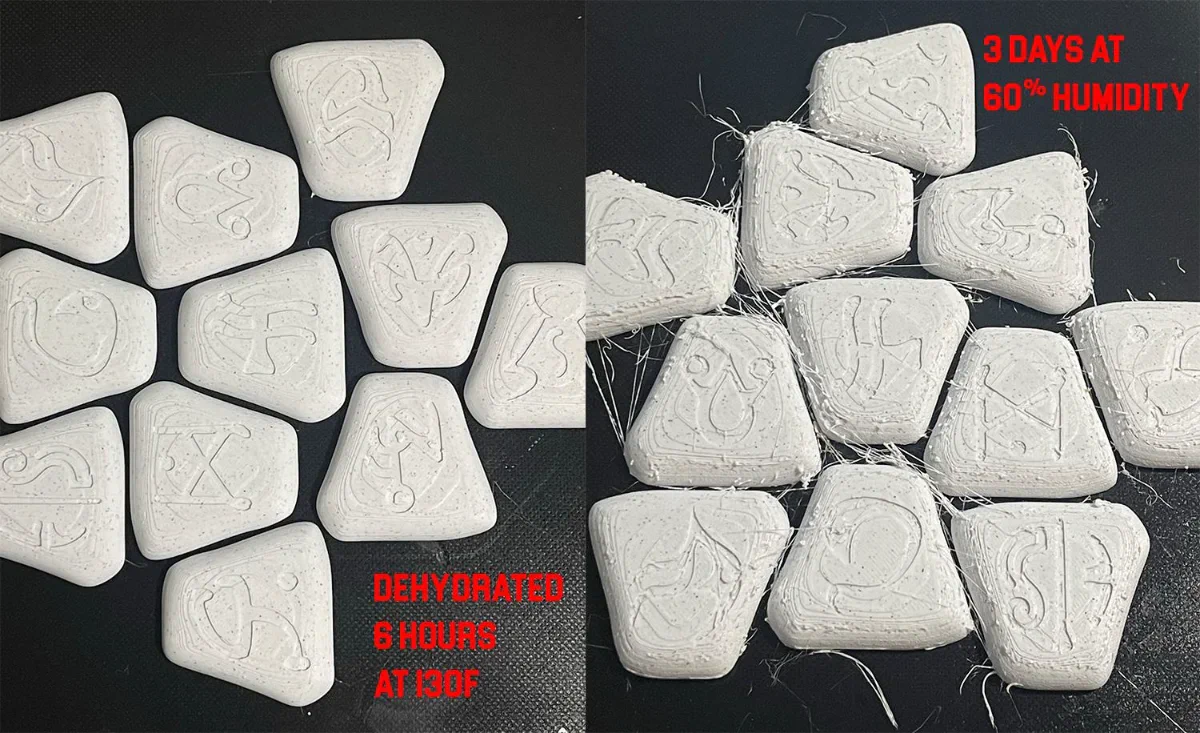
Close-up comparison of 3D-printed test shapes demonstrating the severe stringing, bubbles, and rough texture of wet PETG filament (left) compared to the smooth, clean surface of a print made with dry PETG filament (right) Source: i.redd.it
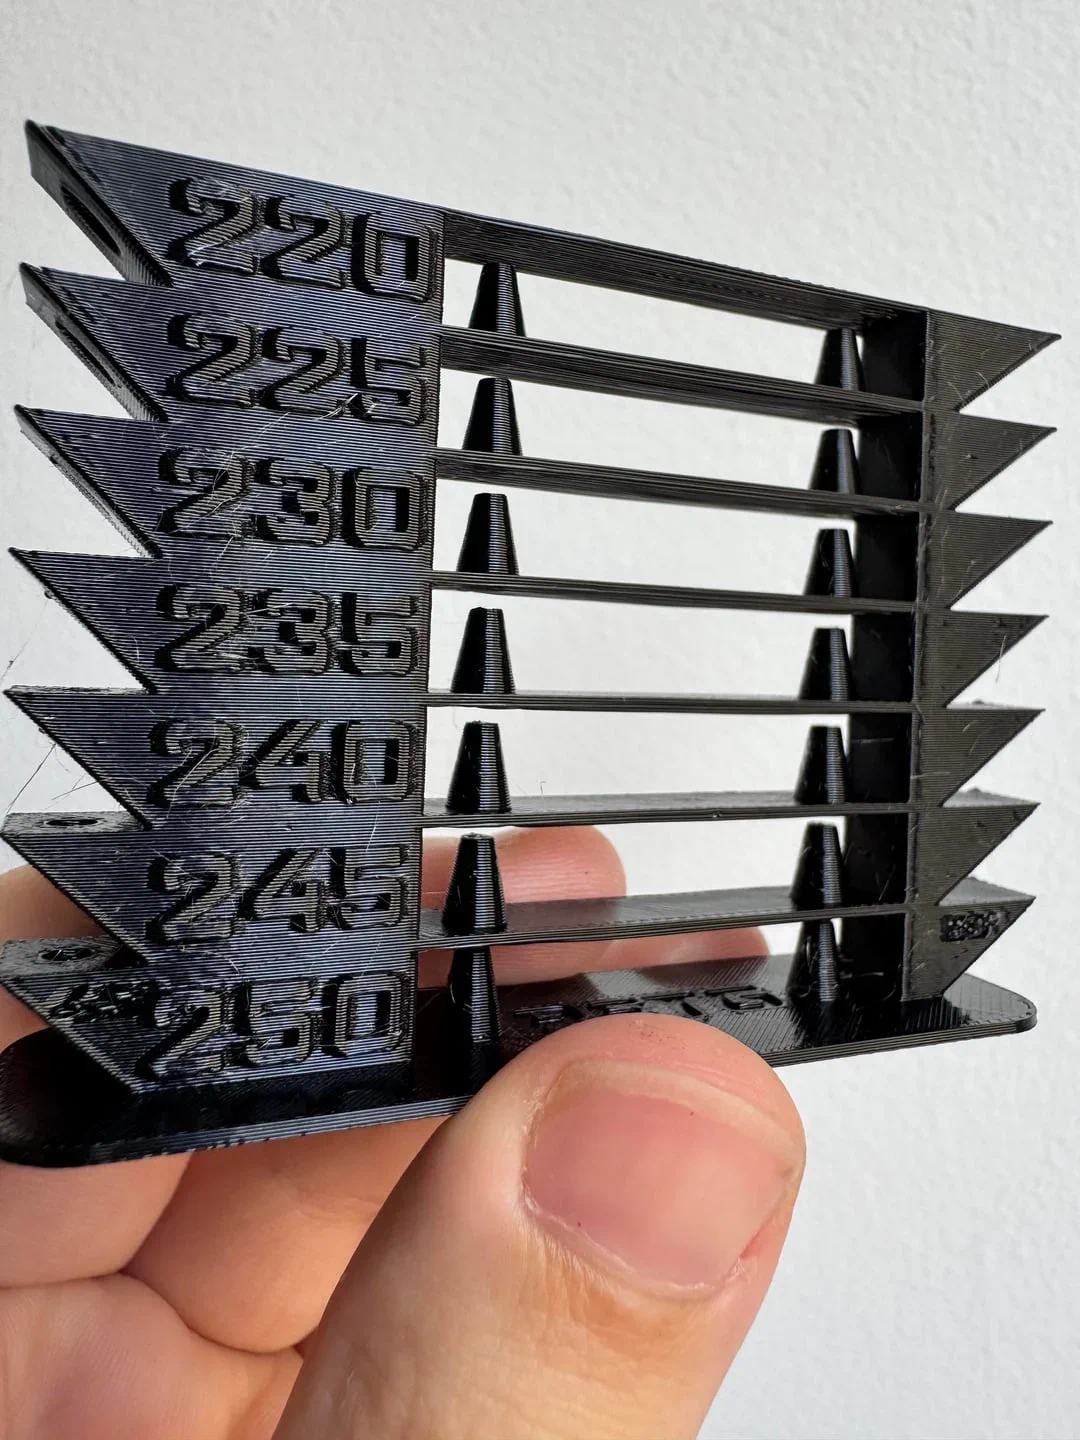
Dialing in Temperatures: The Balancing Act
Temperature is where PETG either shines or self-destructs. It's not just about hitting the "recommended" range - it's about tuning for your printer, your filament, and your print speed.
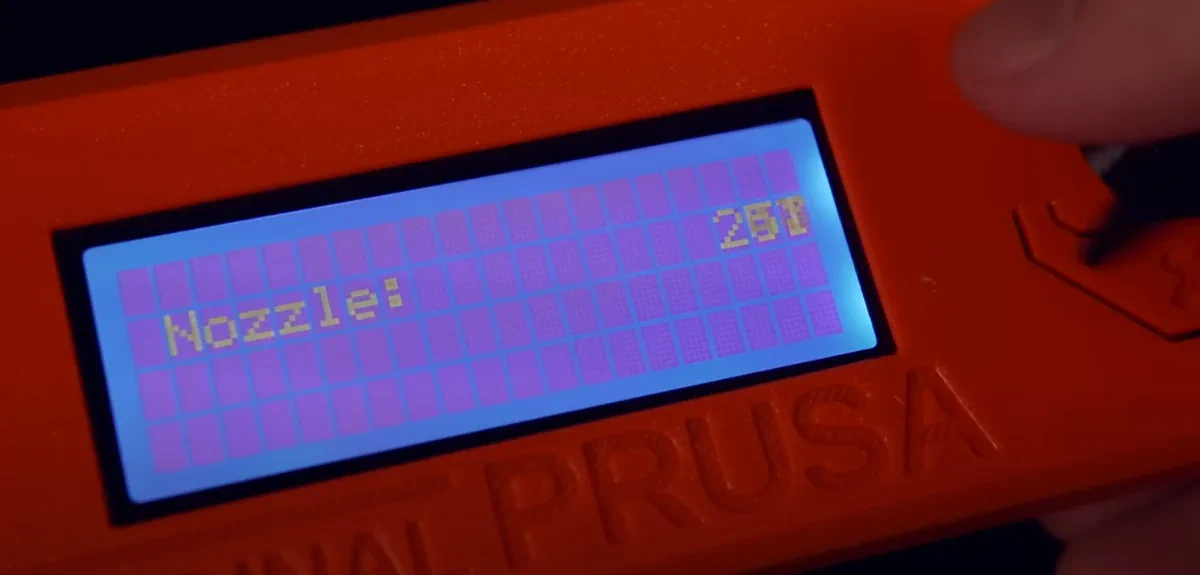
1Hotend Temperature
Typical range: 235°C to 250°C.
Start at 240°C for standard PETG, then adjust:
-
If layers look matte or under-bonded → increase by 5°C.
-
If you see blobbing or stringing, or the filament looks syrupy → reduce by 5°C.
Every brand has quirks - Prusament PETG might print perfectly at 245°C, while eSun could need 235°C.
2Bed Temperature
PETG sticks best around 70-80°C, but here's the trick:
-
Use 75°C for the first layer for solid grip.
-
Drop to 70°C afterward to reduce over-adhesion and ease part removal.
If your printer's bed holds heat unevenly, add an insulating layer or print with an enclosure to stabilize temperature.
Retraction: The Fine Line Between Stringing and Jams
PETG is famous for stringing, those hair-thin wisps that connect parts like cobwebs. Retraction tuning is your best weapon here.
1Direct Drive Systems
-
Retraction Distance: 0.8-1.2 mm
-
Retraction Speed: 25-35 mm/s
2Bowden Systems
-
Retraction Distance: 3.5-5 mm
-
Retraction Speed: 35-45 mm/s
Too much retraction can cause under-extrusion or even clogging, because PETG's sticky texture makes it reluctant to retract cleanly.
Combine that with a wipe or combing setting in your slicer to keep the nozzle moving within printed zones rather than across open air - this reduces the opportunity for strings to form.
Pro tip: Enable "Z-hop" only if necessary; it can create micro-blobs when the nozzle recontacts the surface.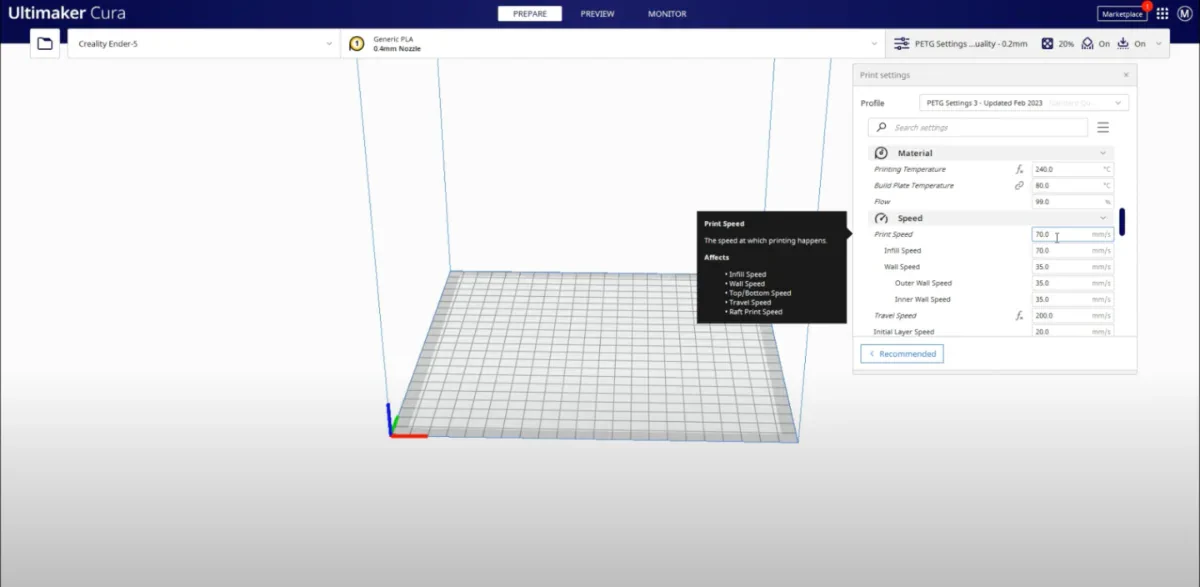
Cura PETG settings for bowden tube Ender 5 Pro setup or similar printer
Cooling: Less Is More
PETG doesn't like strong cooling. Unlike PLA, it needs a bit of time to fuse between layers.
Keep your part cooling fan at 30-50%, just enough to solidify bridges and overhangs without causing brittle layer bonds.
For overhang-heavy models, try variable fan speeds: 0-20% for the first layers, ramping up to 40-50% as it climbs.
If you're printing in a drafty space, shield your printer - PETG benefits from a stable thermal environment.
Speed and Flow: Consistency Over Velocity
PETG wants a steady pace, not a race.
-
Print Speed: 35-50 mm/s is the sweet spot.
-
First Layer Speed: 15-20 mm/s to ensure perfect adhesion.
Higher speeds amplify vibration, inconsistent extrusion, and under-extrusion.
Flow Rate (Extrusion Multiplier)
PETG flows differently depending on your hotend and nozzle type.
Start at 100% flow, then inspect your walls:
-
If layers look too fat or glossy → reduce to 97-98%.
-
If they look thin or separated → increase to 102-103%.
You'll be amazed how much a 2% tweak can fix inconsistent extrusion problems.
Layer Height and Line Width: Getting the Texture Right
PETG loves thicker lines. They give it room to flow and fuse properly.
-
Layer Height: 0.2 mm is a reliable starting point.
-
Line Width: 110-120% of nozzle diameter (e.g., 0.48-0.5 mm for a 0.4 mm nozzle).
Thicker layers mean fewer transitions, which minimizes blobbing and gives PETG's natural gloss a smoother finish.
The secret to 3D printing PETG [Adventurer 4] - Source (Youtube@Burning Money!)
For detailed parts, you can drop to 0.12 mm, but expect a longer print time and slightly duller finish.
First Layer Magic: Where Good Prints Begin
If the first layer fails, the whole print's doomed - especially with PETG.
Tips for Perfect Bed Adhesion
-
Raise nozzle slightly from your PLA Z-offset - around +0.05 mm works well.
-
Use glue stick or a light layer of Magigoo to prevent PETG from permanently bonding to glass.
-
Print at a slow first layer speed (15 mm/s).
When you get it right, the lines will appear smooth and connected, not mashed flat or lumpy.
If corners still lift, check for uneven bed temperature or add a brim (5-8 mm) to anchor the edges.
Advanced Tweaks: Going From Good to Great
Once your prints are consistent, these extra settings can take PETG to the next level.
1Coasting and Wiping
"Coasting" stops extrusion slightly before the end of a path, letting the residual pressure finish the line. This reduces blobbing at layer transitions. Start with 0.2-0.4 mm³ of coasting volume.
"Wiping" cleans the nozzle by moving over the last printed area while retracting. Combine both for pristine outer walls.
2Linear Advance / Pressure Advance
If your printer's firmware supports it, enable Linear Advance (Marlin) or Pressure Advance (Klipper). These features dynamically manage extrusion pressure - eliminating bulges and fixing inconsistent extrusion during direction changes.
It takes calibration (try thin-wall tests), but once tuned, you'll notice cleaner corners and smoother walls.
3Enclosure and Ambient Control
PETG doesn't require an enclosure, but a warm, draft-free environment makes a big difference. If you print in a cold room, the temperature fluctuations can cause layer separation.
Keep ambient temps above 25°C, especially for tall prints.
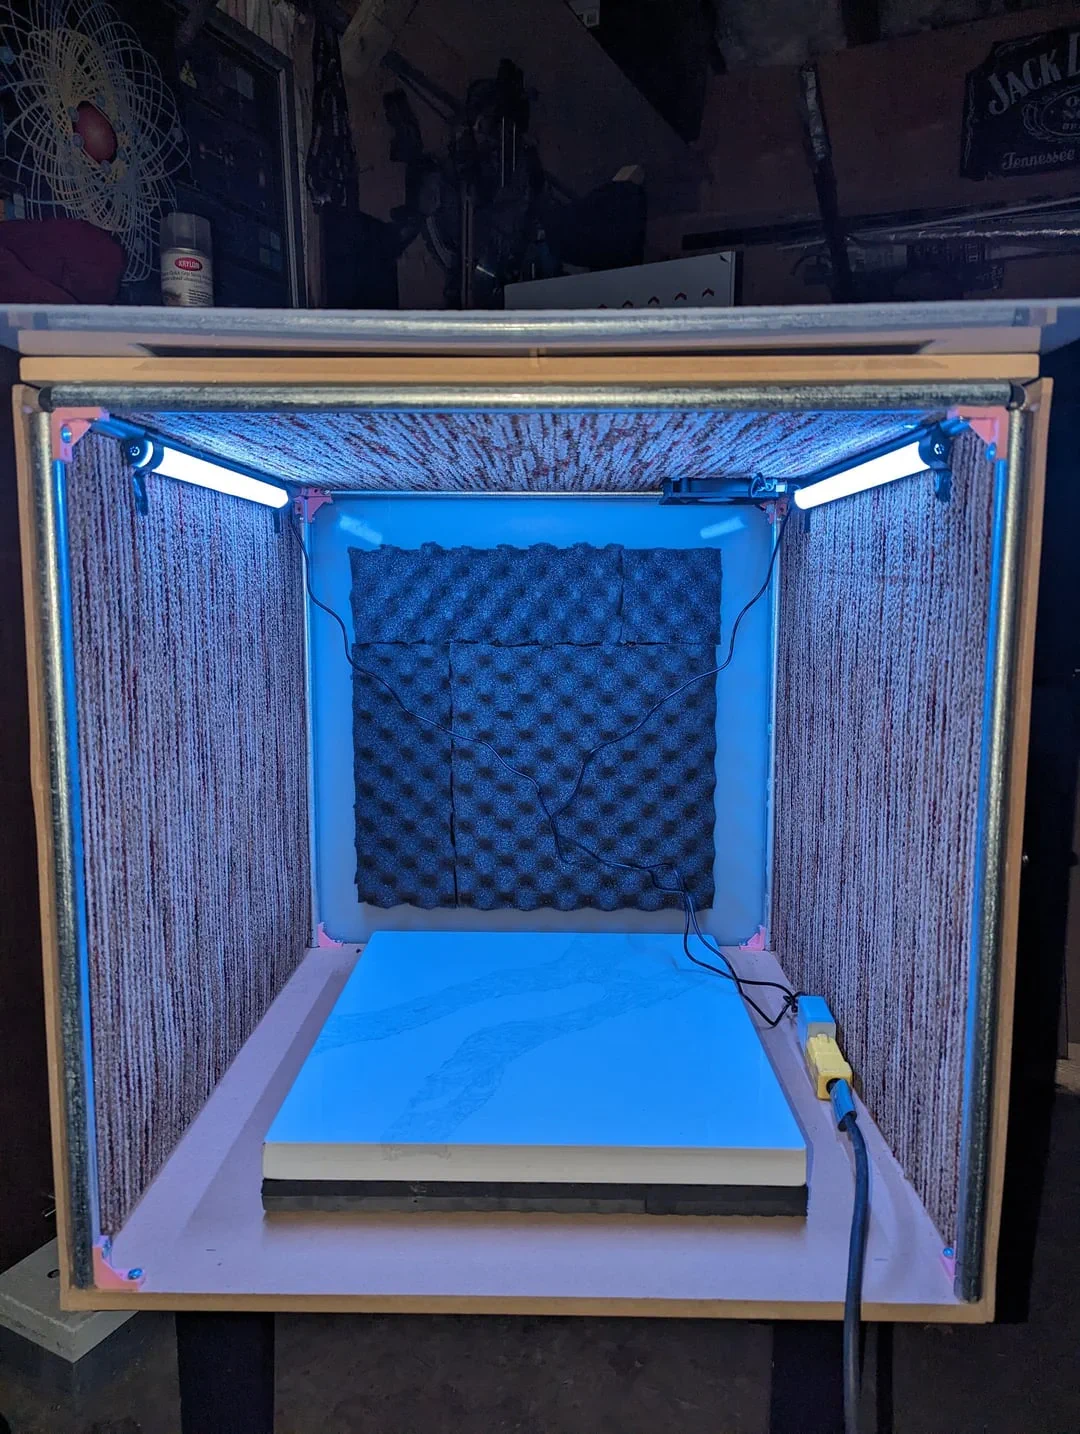
Large Print Failure Requiring an Enclosure Source: Reddit
Troubleshooting: When PETG Goes Wrong
Even with perfect slicer settings, PETG can misbehave. Here's how to diagnose and fix common issues quickly.
1Blobbing or Oozing
Causes: Too high temperature, long travel moves, or poor retraction.
Fix:
-
Drop nozzle temp by 5-10°C.
-
Enable "Combing Within Infill."
-
Add a small "Coast" setting to release pressure.
2Stringing
Causes: Moist filament or weak retraction.
Fix:
-
Dry your filament.
-
Increase retraction distance slightly.
-
Enable "Wipe" or "Avoid Crossing Perimeters."
3First Layer Issues
Causes: Z-offset too low or bed dirty.
Fix:
-
Raise nozzle 0.05 mm.
-
Clean the bed with IPA.
-
Add glue stick to control adhesion.
4Under-Extrusion
Causes: Cold nozzle, partial clog, or low flow.
Fix:
-
Raise temperature 5°C.
-
Check nozzle for buildup.
-
Increase flow rate by 2%.
5Inconsistent Extrusion
Causes: Moisture, unstable extruder tension, or poor filament diameter control.
Fix:
-
Dry filament thoroughly.
-
Inspect extruder gears for debris.
-
Use filament with tight tolerance (±0.02 mm preferred).
6Bed Adhesion Issues
Causes: Bed too cool, nozzle too far, or wrong surface.
Fix:
-
Increase first layer bed temp to 80°C.
-
Re-level bed.
-
Try PEI or textured plates for reliable grip.
Real-World Tips from the PETG Community
A few hard-earned insights from experienced makers that rarely make it into official guides:
Source: redd.it
-
Color affects temperature. Dark PETG (black, navy, forest green) usually needs 5°C higher temps than clear or white.
-
Don't overcool bridges. Instead of blasting the fan, use slower bridge speeds - 15 mm/s works better than high airflow.
-
Avoid "Z-scar" trails by randomizing seam positions in your slicer.
-
Filament tension matters. Loosen tight spools - PETG that's wound too firmly can cause micro-pauses in extrusion.
-
Let the print cool fully before removal. PETG parts often deform if pulled off a warm bed.
Many Reddit users and YouTube creators swear by slowing travel speed to 120-150 mm/s when fighting stringing - it gives retraction a chance to work. And yes, a bit of post-print cleanup with a heat gun or lighter can make stray hairs vanish instantly (carefully, though - PETG softens fast).
Finishing PETG Prints the Smart Way
If you want that clean, professional finish:
-
Use a heat gun to smooth strings and restore gloss. Keep it moving to avoid sagging.
-
For a matte surface, light sanding (400-800 grit) followed by a fine polish gives PETG a sleek, tactile feel.
-
If painting, sand and apply a plastic primer first - PETG resists paint adhesion otherwise.
A little extra post-processing goes a long way toward making PETG parts look injection-molded.
When to Blame the Filament - Not Yourself
Sometimes, you're doing everything right, but the filament just isn't cooperating. PETG quality varies wildly between brands.
If you've tuned your slicer to perfection and still see inconsistent extrusion or under-extrusion, it's worth testing a known reliable brand. Prusament, Polymaker, and Sunlu's higher-end PETG lines consistently perform well.
Avoid ultra-cheap PETG spools; their diameter tolerances can drift by ±0.1 mm, which is catastrophic for extrusion consistency.
Think of filament as half the equation. The other half is tuning - and patience.
Summary: The PETG Sweet Spot
If you've read this far, you're already way ahead of most hobbyists struggling with PETG. Let's summarize the golden rules:
-
Temperature: 235-250°C nozzle, 70-80°C bed.
-
Retraction: 0.8-1.2 mm (Direct), 3.5-5 mm (Bowden).
-
Cooling: 30-50%.
-
Speed: 35-50 mm/s; first layer at 15-20 mm/s.
-
Bed Adhesion: Clean surface, light glue stick, proper Z-offset.
-
Filament: Keep it dry. Always.
Get those dialed in, and you'll finally see PETG for what it really is - a strong, resilient, beautiful filament that rewards precision and patience.
The next time someone complains that PETG is too finicky, you'll know better. Because you've earned your shine the hard way - one perfectly tuned layer at a time.
Technical communicator specialising in 3D printing workflows, covering the full content spectrum: foundational guides, step-by-step how-to tutorials, hands-on reviews, curated top picks, troubleshooting solutions, and industry news.